Fabric Mache Ornament Tutorial! Ornament Along Week 3
This week is all about getting messy and having some low-stress fun.
You'll need:
Mod Podge
Fabric scraps ... Did you save your scraps from the Hexies Wreath? If not, don't sweat it. You'll just need about 20 little scraps measuring about 1/2" x 4". That should be plenty to cover a 2" ornament.
2" polystyrene ball Make sure to save a couple for future weeks!
Glitter Fabric Spray
Ribbon and pin
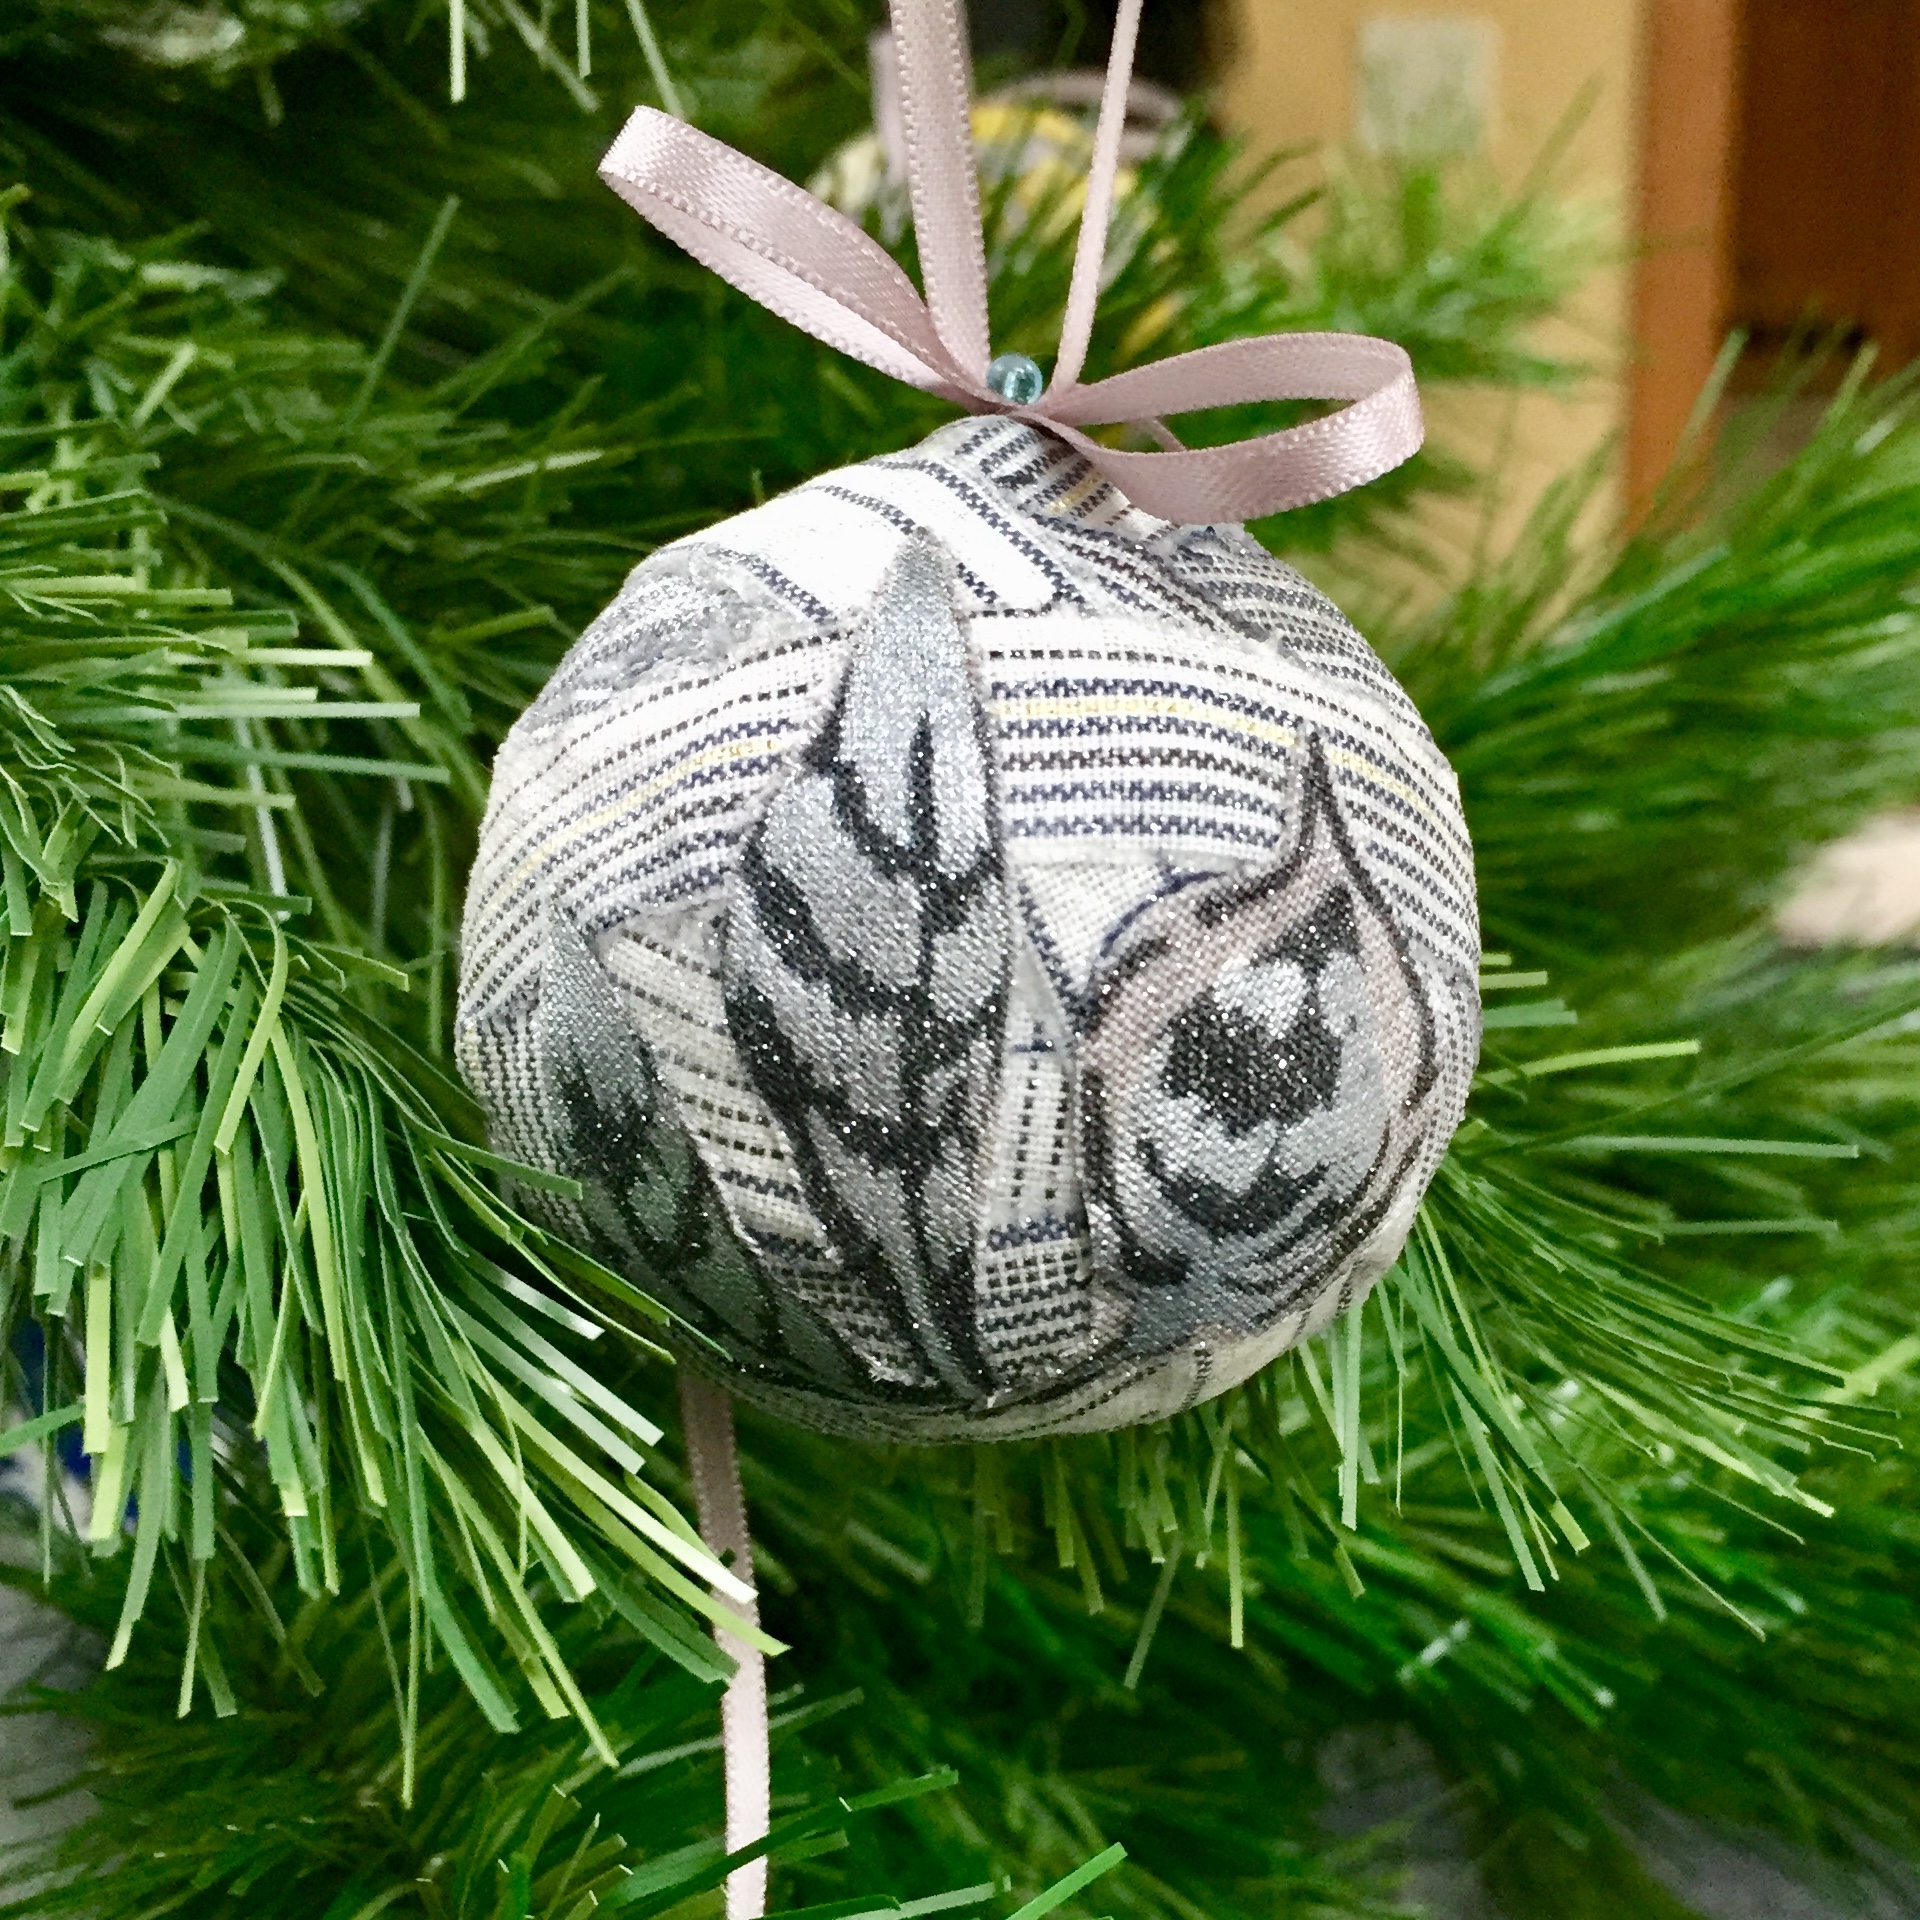
Modern Hexies inspired Fabric Mache Ornaments in Shimmer On and Essex Linen from Robert Kaufman Fabrics.
My ornament is inspired by this week's prize sponsor, Modern Handcraft, and her design called Modern Hexies. The Olive hexies print from Shimmer On Fabrics by Jennifer Sampou was PERFECT for a teeny tiny Modern Hexies design!
This week Nicole of Modern Handcraft is providing prizes for two people - so two of you will get four paper patterns from her Solid Series, as well as a 1" hexie fussy cutting template!
Range, Stack, French Macaroon, and Hexie Pillow Patterns by Modern Handcraft!
Okay, so here's what you gotta do: just post your progress to Instagram and use the hashtag #ornamentalong. Congratulations to @stitchedinsantacruz for winning the prize from last week.
This ornament is super easy! Cut loose and get creative - I can't wait to see what you do. Make sure to check out Mathew's Fabric Mache Ornaments on his blog. The pinks are too cute!
Here's what to do:
1. Cover the wrong side of a strip liberally with Mod Podge and attach to the ball. Repeat until the ball is totally covered.
2. Insert a pin about a half inch into the ball. This will serve as a way to hold the ornament as you continue to work on it.
3. Let dry at least two hours.
4. Fussy cut some design elements from a print, or create your own by drawing an image on fabric and carefully cutting it out.
5. Glue onto the fabric ball.
6. Let dry two hours.
7. Spray Glitter Spray all over the ball to give it some extra bling factor.
8. Let dry according to package instructions.
9. Loop a ribbon a few times, including a loop long enough for hanging. Take the pin out and use it to attach the ribbon. Now enjoy your new ornament!
This motif is from Pewter of Shimmer On by Jennifer Sampou for Robert Kaufman.
This post contains affiliate links.


