
Trick-or-Treat Bag Tutorial: Just Two Fat Quarters!

Trick-or-Treat Bags by WEFTYNeedle
These trick or treat bags are quick and my girls (5 & 3 years old) love them! At 10" wide x 11" tall, they are basically perfect kid-tote-bag size. The girls wear them as shoulder bags and take their "Halloween purses" on outings. What I love is that these bags only use two fat quarters and some interfacing. Plus the fabric really glows in the dark - as advertised!

Ready, Set, Glow Fabric by Blank Quilting REALLY glows in the dark!
What I used to make two bags:
(4) fat quarters - the Glow in the Dark skulls fabric is called Ready, Set, Glow by Blank Quilting and I got mine from Blue Bar Quilts. I also used some Cotton + Steel Boo andLil Monsters for the linings and the exterior of the second bag.
1 yard 809 Decor-Bond interfacing by Pellon
2 yards Shape-Flex 101 interfacing by Pellon
Aurifil 50 wt in Bright Orange
Here are the steps I did to get my result:
1. Fused fat quarters to SF 101
2. Trimmed fat quarters to 18 x 21.5
3. Cut a strip off the side of each exterior fat quarter - the strips measured 3 x 21.5. This is the bag handle piece. Set aside.
4. Cut each lining and exterior piece in half lengthwise. Exterior pieces measured 15 x 10.25 and lining pieces measured 18 x 10.25.
5. Lined up raw edges of the top (10.25) sides of exterior and lining pieces and sewed a 1/4" seam. Pressed seam open. Repeated for all four pieces.
6. Right sides together, lined up the bottom edges of the exterior and lining pieces, then pressed the fold on the top. My lining now "showed" on the front.
7. Top stitched on either side of the seam. A topstitch is typically 3.5 long and is placed about 1/8 - 1/4" from the seam.
8. Cut (4) 10.5 x 14 pieces of Decor-Bond
9. Placed Decor-Bond in the body pieces (It was as far up as possible next to the bottom topstitch, with some space on the sides and bottom). Fused.

Trick-or-Treat Bags by WEFTY Needle: Inserting Decor-Bond
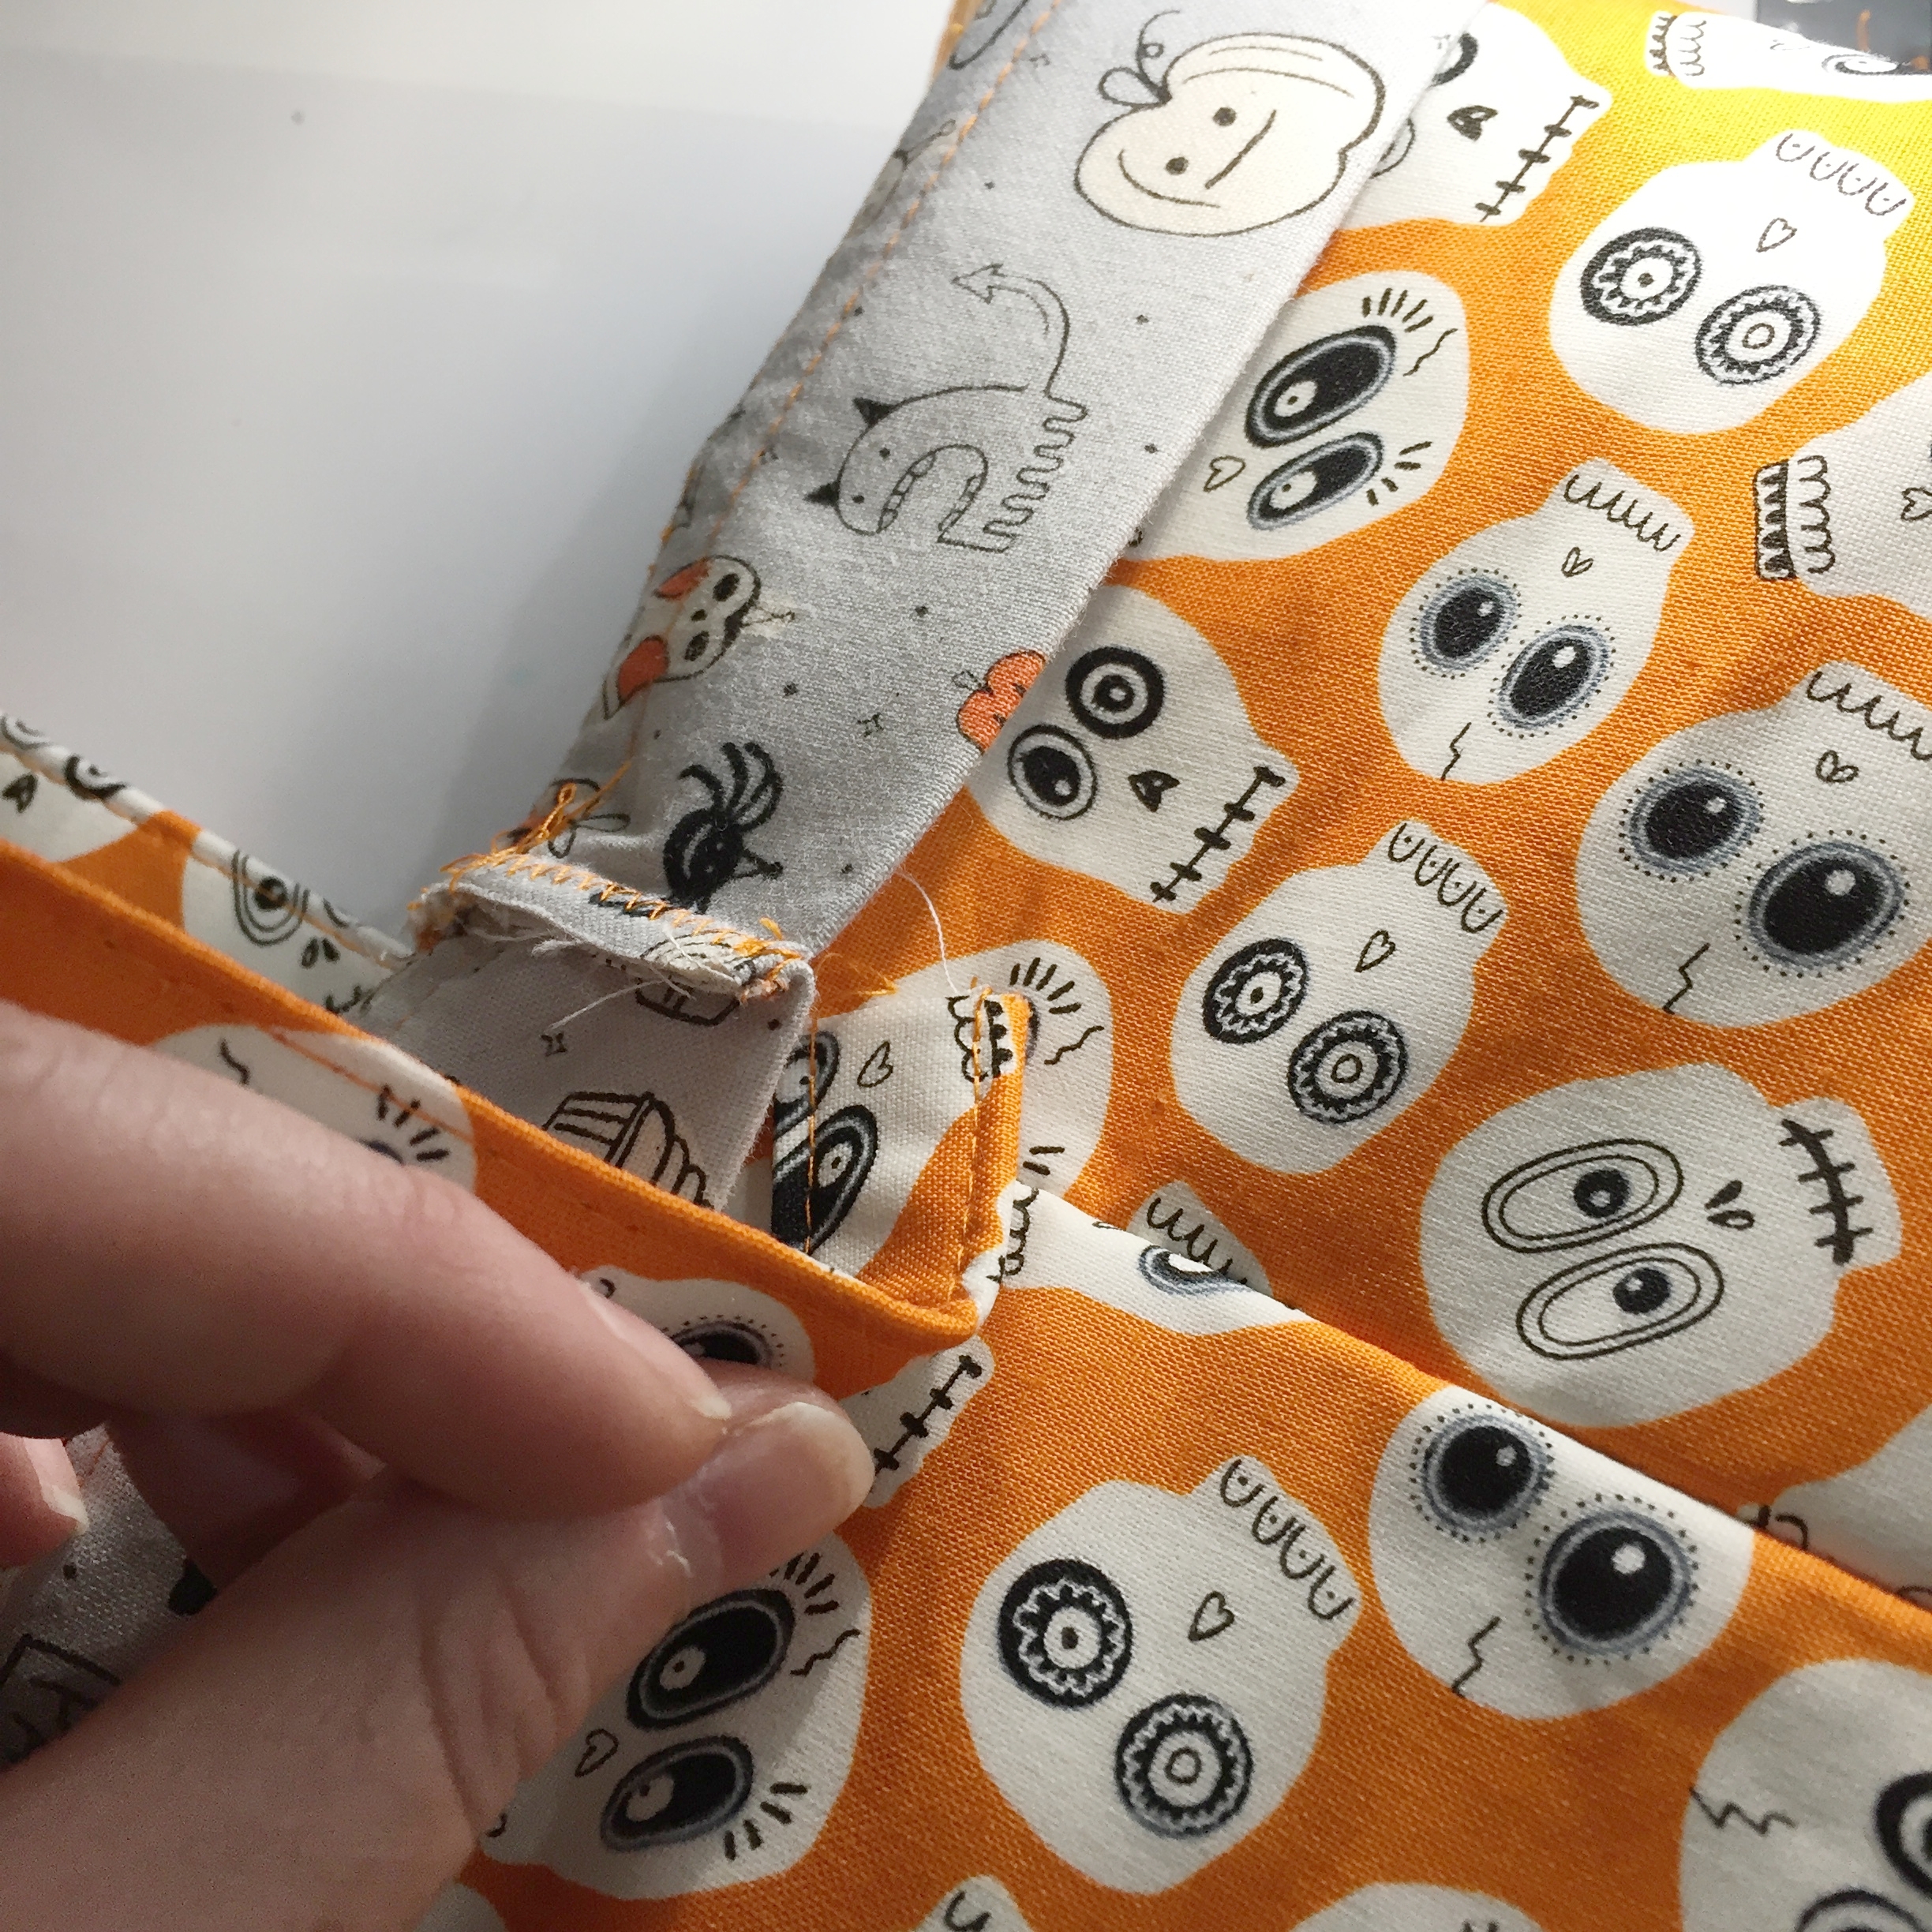
10. With body pieces right sides together, sewed along sides and bottom with a 1/4" seam. I used a zig zag stitch and went over it a couple of times since the seams stay visible inside the bag.
11. Boxed the corners:
Lined up the seams perfectly using my fingers and my ninja powers. Tip: If it helps you line them up, insert a pin into the center of the top seam, making sure it comes out the center of the bottom seam.
Lined a side of the corner up to the 45 degree mark on my clear quilting ruler and decided I'd make it about 3.5" deep, 6.5" wide. Marked the line with a fabric pen. Sewed along this line a few times, then trimmed 1/4" outside the line and reinforced the raw edge with a zig zag stitch.

Trick-or-Treat Bag by WEFTY Needle: Boxing Corners

Trick-or-Treat Bag by WEFTY Needle: Zig Zag Stitch
12. Turned right side out and folded over the top edge so both topstitch lines showed.
13. Folded the bag handle piece in half lengthwise and pressed. Opened. Folded the sides into this middle press line and pressed again. With the strap folded this way, folded it in half and pressed.
14. Cut two pieces of Decor-Bond 1/2 x 18". Place one inside each strap by unfolding, putting the interfacing inside a flat area and enclosing it into the strap by re-folding. The interfacing is not as long as the strap on purpose to reduce thickness at the strap ends.
15. Topstitched along both lengths of the strap.

Trick-or-Treat Bag by WEFTY Needle: Straps | Steps 13-15
16. Tucked the ends of the strap under the flap of the bag so the strap covered the raw edges on the flap, and the flap covered the raw edges of the strap.
Trick-or-Treat Bags by WEFTY Needle: Attaching Strap
17. Attached the straps. This was a lot of thickness for my machine - I may have had a better time with a topstitch needle and a 40 wt thread. I also wondered about hand stitching an "X" with black embroidery thread on this part as another possible way of avoiding unnecessary strain on the machine.

The ToT Bag (or "Halloween Purse" as Hazel calls it)
If you make these, be sure to tag me @weftyneedle and use the hashtag #ToTBag - I will be making some in different prints for the girls to carry year round. It's the perfect size for car-ride art supplies!
This post contains affiliate links.